
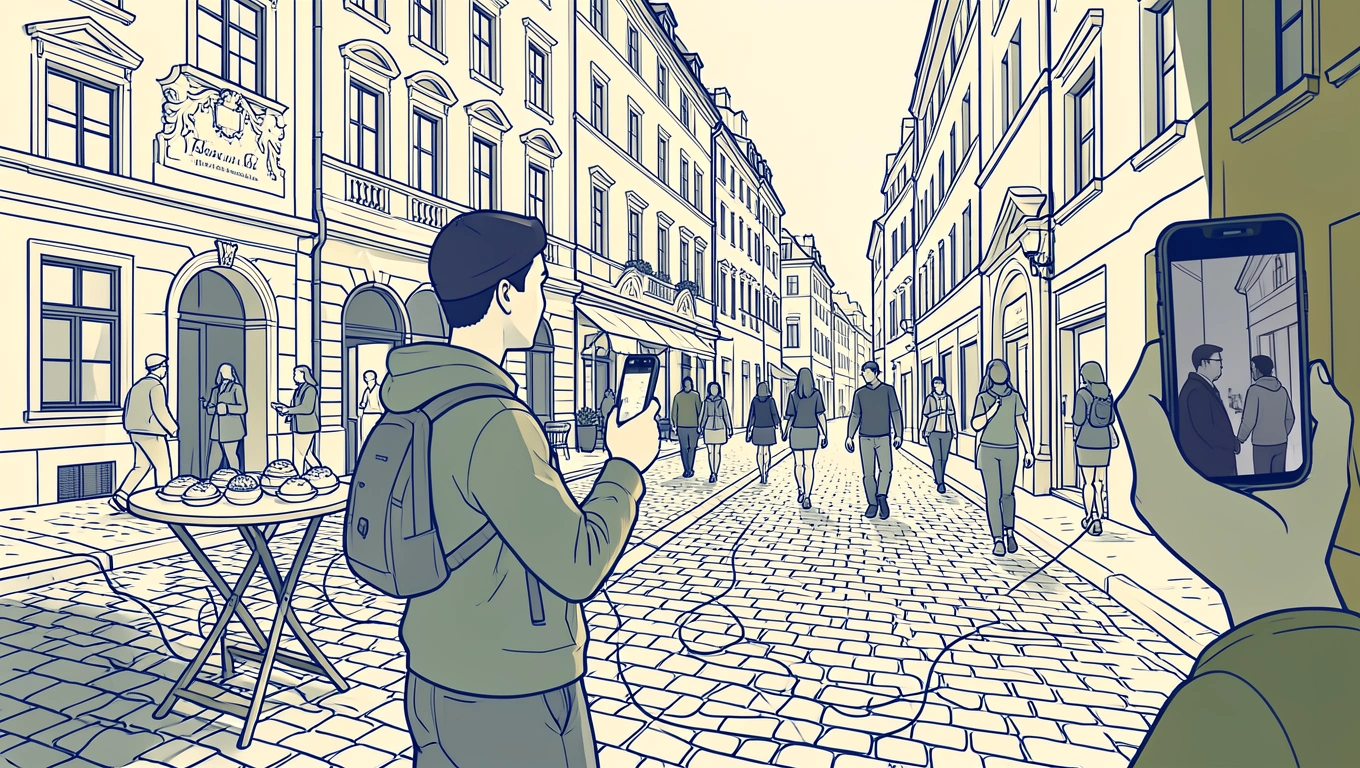
Your phone is already in your pocket, and it’s more than capable of capturing stunning travel memories. You don’t need expensive camera gear to bring home beautiful shots from your adventures. Modern smartphones pack impressive camera technology, and knowing how to use it well makes all the difference between snapshots and photographs you’ll want to frame. Whether you’re wandering through cobblestone streets in Europe or hiking mountain trails closer to home, these practical techniques will help you capture those moments with clarity, creativity, and confidence.
Master the Basics Before You Shoot
Before you even think about composition or lighting, take a moment to clean your lens. It sounds simple, but your phone lives in your pocket or bag, collecting fingerprints, dust, and grime throughout the day. A quick wipe with your shirt or a microfiber cloth ensures sharp, clear images instead of hazy photos that look like they were shot through a dirty window.
Next, turn on your camera’s gridlines. Most phones have this feature buried in the settings, and it overlays a tic-tac-toe grid on your screen while you shoot. This helps you follow the rule of thirds, a fundamental photography principle where you place your subject along those grid lines or at their intersections rather than dead center. The result feels more balanced and naturally draws the viewer’s eye to what matters most in the frame.
Resist the temptation to use digital zoom when shooting in good light. Unlike optical zoom on traditional cameras, your phone’s digital zoom simply crops and enlarges the image, degrading quality in the process. Instead, move closer to your subject whenever possible, or plan to crop the photo later during editing when you have more control over the final result.
Work With Light Instead of Fighting It
Light makes or breaks a travel photo, and your phone camera performs best when you give it plenty to work with. Early morning and late afternoon offer the most flattering natural light, with softer shadows and warmer tones that add depth and dimension to your shots. Harsh midday sun creates unflattering shadows and blown-out highlights that even the best editing can’t fully rescue.
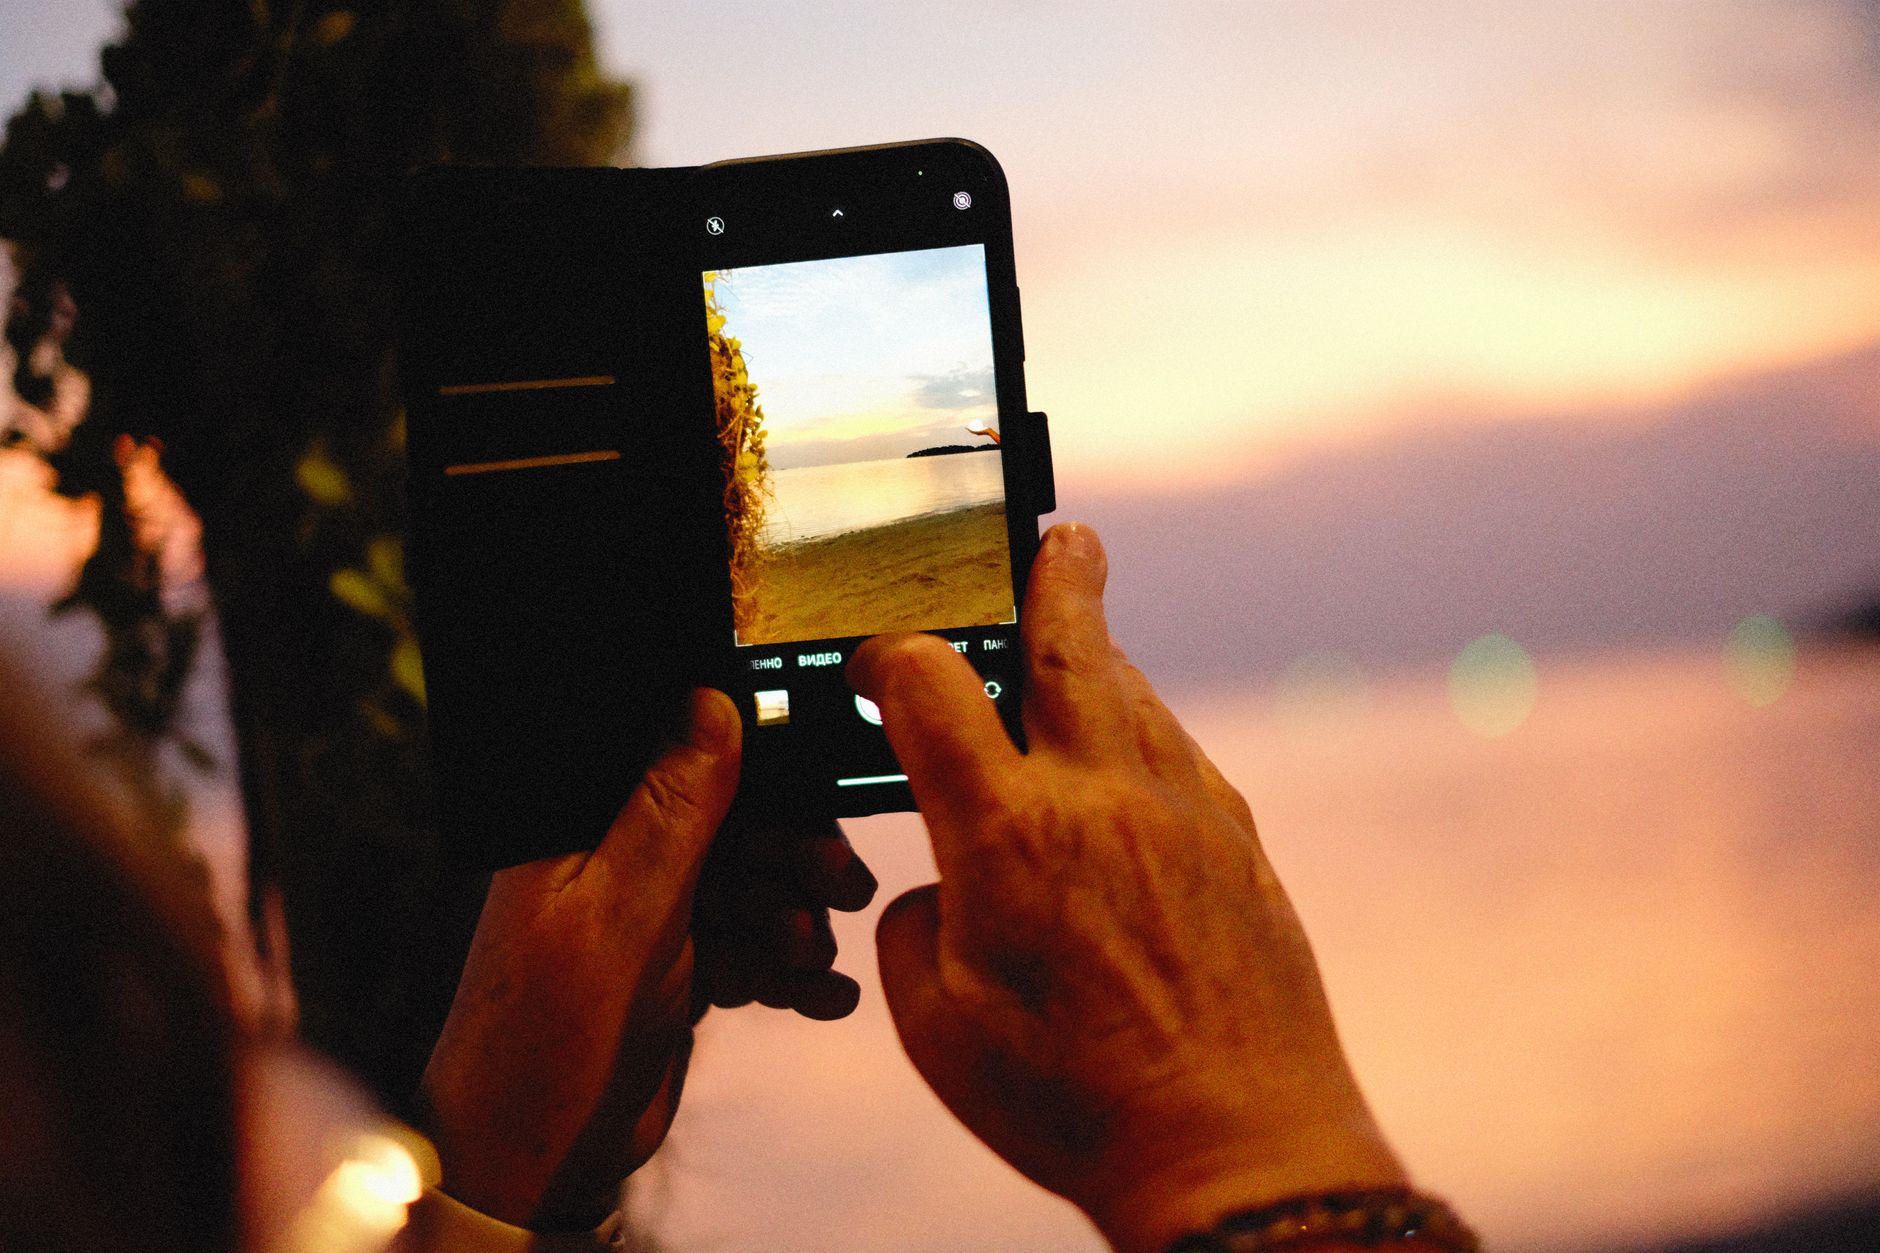
When you’re stuck shooting in bright conditions, look for open shade under awnings, trees, or building overhangs. This diffused light illuminates your subject evenly without the harsh contrasts of direct sunlight. If you’re photographing people, avoid having them squint into the sun. Position them so the light falls on their face from the side or even from behind, then tap on their face on your screen to ensure proper exposure.
For low-light situations like sunset scenes, indoor markets, or evening street photography, explore your phone’s native camera app for night mode or manual exposure settings. Night mode captures multiple exposures and combines them for brighter, clearer shots without the grainy noise that plagues traditional low-light phone photos. Just remember to hold your phone steady or brace it against something solid while the camera does its work.
Next Level: When photographing architecture or landscapes, shoot in portrait orientation as well as landscape. Vertical photos show the full height of buildings, waterfalls, or forest scenes and often feel more immersive when you’re scrolling through them later on your phone screen.
Compose With Intention and Tell a Story
Every great travel photo tells a story or evokes a feeling beyond just documenting that you were there. Instead of standing at a famous landmark and shooting straight on like everyone else, walk around it. Look for unexpected angles, reflections in puddles or windows, or foreground elements like archways or branches that frame your subject and add layers to the composition.
Include people in your shots to give viewers a sense of scale and human connection to the place. A lone figure walking through a grand plaza or a local vendor at their market stall adds life and context that empty scenes often lack. You don’t always need faces to be visible. Sometimes a silhouette, a gesture, or someone from behind creates more intrigue than a posed portrait.
Pay attention to lines and patterns in your environment. Leading lines like roads, railings, or shorelines naturally guide the viewer’s eye through the frame toward your main subject. Repeating patterns in tile work, windows, or rows of market goods create visual rhythm that makes photos more engaging.
Don’t forget to capture the small details alongside the big vistas. Close-ups of local food, weathered door handles, colorful textiles, or interesting textures tell a richer story about a place than landmarks alone. These detail shots also give your travel album variety and depth when you look back through your photos later.
Edit Thoughtfully to Enhance, Not Overpower
Editing isn’t about making your photos look fake or overly processed. It’s about bringing out what was already there and correcting for what your phone’s camera couldn’t quite capture in the moment. Subtle adjustments to brightness, contrast, and saturation can significantly enhance the final image without making it look artificial.
Start with exposure and straightening. If your horizon line tilts or your photo looks too dark or bright, fix those issues first before moving to other adjustments. Most phone editing apps have an auto-straighten feature, but you can fine-tune it manually if the automatic version doesn’t look quite right.
Adjust the highlights and shadows separately rather than just cranking up the overall brightness. Bringing down highlights recovers detail in bright skies, while lifting shadows reveals information in darker areas of your photo without washing out the entire image. This gives you more control and a more balanced result.
Go easy on saturation. It’s tempting to boost those colors until everything pops, but oversaturated photos look unrealistic and lose the subtle tones that make a place feel authentic. Instead, try adjusting vibrance, which enhances muted colors while protecting skin tones and already-saturated areas from going overboard.
Save your edited photos as copies rather than overwriting the originals. This lets you try different editing styles or return to the original version if you later decide you went too far with the adjustments.
Q&A
Should I shoot in portrait or landscape mode for travel photos?
Both orientations serve different purposes. Landscape mode works well for wide vistas, group shots, and scenes where you want to emphasize horizontal expanse. Portrait mode excels for tall subjects like buildings, waterfalls, trees, and single-person portraits. Shoot important scenes in both orientations so you have options later, especially since vertical photos display better on social media feeds while horizontal photos suit prints and desktop backgrounds.
How do I avoid blurry photos when shooting from a moving vehicle?
Tap on your subject to set focus and exposure, then keep your phone as steady as possible by bracing your arm against the window frame or your body. Shoot in short bursts rather than single shots, which increases your chances of catching a sharp frame between bumps. Avoid shooting through glass if you can safely open a window, as reflections and scratches on the glass degrade image quality. Remember that faster-moving subjects require more light for sharp results, so vehicle photos work best in bright conditions.
What’s the best way to photograph food while traveling?
Natural light remains your best friend for food photography. Request a table near a window if you’re indoors, and avoid using your phone’s flash, which creates harsh shadows and unappetizing highlights. Shoot from directly overhead for flat-lay arrangements of multiple dishes, or from a slight angle to show the depth and texture of a single plate. Include context like the restaurant setting, local condiments, or hands reaching for food to make the shot feel more authentic and less like a clinical product photo.
Can I take good photos at popular tourist spots without other people in the frame?
Arriving very early in the morning or late in the evening gives you the best chance of finding popular landmarks less crowded. During busy times, use a longer exposure if your phone supports it, which blurs moving people into ghosts while keeping stationary elements sharp. Alternatively, embrace the crowds and use them to show the energy and reality of the place. A strategic composition that uses foreground elements to block some of the crowd while highlighting your main subject also works well.
For Conclusion
Great travel photography with your phone comes down to understanding your camera’s capabilities and working within them rather than against them. Clean your lens, use good light, compose with intention, and edit with restraint. These aren’t revolutionary secrets, but they’re the fundamentals that separate memorable travel photos from forgettable snapshots.
The best part about shooting with your phone is that it’s always with you, ready to capture unexpected moments that often make the most meaningful photos. That unplanned street scene, the way light hits a doorway, the expression on a stranger’s face – these spontaneous shots tell the real story of your travels. Technical skills matter, but staying observant and ready matters more. Your phone is just a tool. Your eye for the moment is what brings those travel photos to life.